Beef Wellington is the ultimate showstopper, a dish that signals true confidence in the kitchen—yet its reputation for difficulty keeps many home cooks from attempting it. The challenge lies in balancing its distinct layers: tender, perfectly cooked beef, deeply flavorful duxelles, and a crisp, golden pastry that holds everything together without turning soggy. Mastering these elements requires precision and timing. This guide breaks down the essential beef wellington techniques into clear, manageable steps, helping you avoid common pitfalls and achieve flawless results. By focusing on each critical component, you’ll create a centerpiece that’s as stunning to present as it is delicious to serve.
The Foundation: Selecting and Searing the Tenderloin
If you ask me, the entire success of this dish lives or dies with the beef. I’m uncompromising here: center-cut beef tenderloin, also known as chateaubriand, is non-negotiable. Its uniform shape means even cooking, and even cooking means no gray bands (which, frankly, feel like a culinary crime).
Trim excess fat and silverskin, then pat it completely dry. Moisture is the enemy of crust. Season aggressively with kosher salt and freshly cracked black pepper. And yes, aggressively—I’ve never regretted proper seasoning.
In a ripping-hot, heavy-bottomed skillet with high-smoke-point oil, sear every surface, ends included, until deeply browned. That crust equals flavor.
Immediately brush with Dijon or English mustard; it adds tang and grip. Then chill at least 30 minutes. Use beef wellington techniques in the section once exactly as it is given. Cold beef wraps cleaner and bakes better—trust me on this one.
The duxelles is the quiet hero of a flawless Wellington, engineered to deliver intense, earthy flavor while acting as a moisture barrier between mushroom filling and pastry. In classic beef wellington techniques, controlling water is everything (because steam is the sworn enemy of crisp crust).
Start with:
- Finely minced cremini mushrooms, shallots, garlic, and fresh thyme
- A food processor pulsed—not pureed—to keep texture intact
Mushrooms are nearly 90% water (USDA), which means patience over medium heat is non‑negotiable. Cook the mixture in a dry, non-stick skillet for 15–20 minutes. Skipping fat at this stage isn’t trendy minimalism; it accelerates evaporation and concentrates flavor. The payoff? A paste-like consistency that spreads evenly and won’t leak.
Once dry, deglaze with a splash of sherry or white wine to lift the fond (those browned bits equal flavor). Add a touch of butter for gloss and richness, then cook again until completely dry.
Season assertively, then cool the duxelles on a baking sheet. A warm filling creates trapped steam, sabotaging layers from within (heartbreaking, honestly). Pro tip: make it a day ahead to deepen flavor and improve spreadability. Spread thinly for even coverage and structural integrity. Precision here defines final texture beautifully.
The Protective Barrier: The Prosciutto and Crêpe Wrap
At this stage, precision matters. The prosciutto (a thin, dry-cured Italian ham) isn’t just there for flavor—though its salty depth is reason enough. More importantly, it forms a moisture barrier, preventing the mushroom duxelles (a finely chopped mushroom mixture) from soaking the pastry. Skip this, and you risk the dreaded soggy bottom.
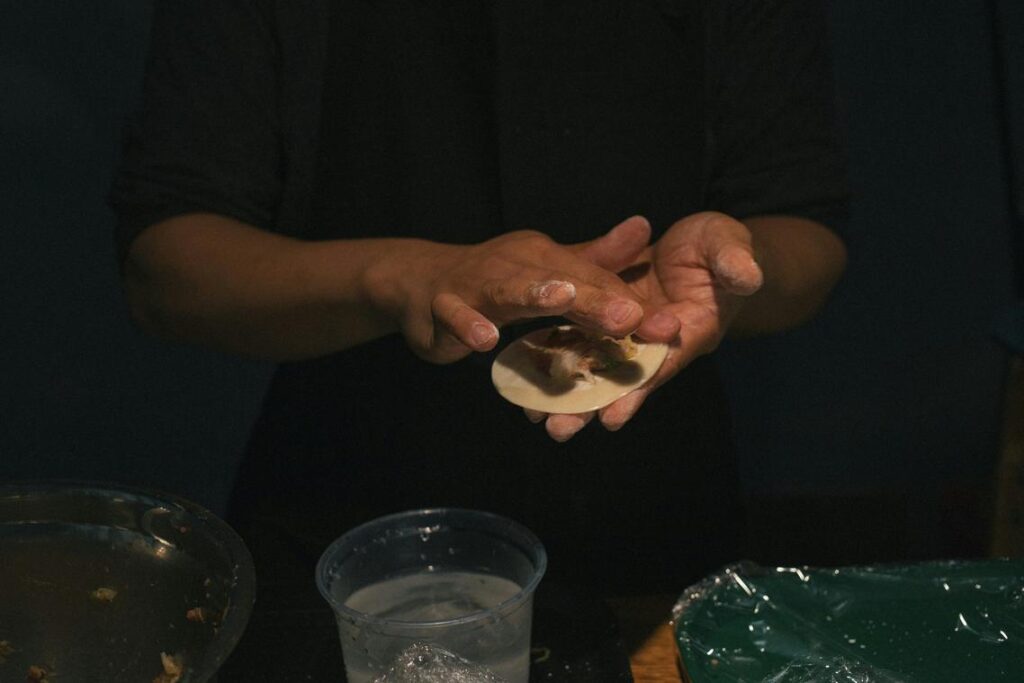
First, lay out a large sheet of plastic wrap. Arrange prosciutto slices slightly overlapping to form a rectangle. Then spread the cooled duxelles evenly over the surface. Place the chilled, seared tenderloin at one end. Using the plastic wrap to help, tightly roll the prosciutto and duxelles around the beef, creating a compact, uniform log. Twist the ends to secure and chill 20–30 minutes.
I strongly recommend not rushing this step. Chilling helps it hold shape during final wrapping (think of it as setting the foundation before building walls). For more texture control insights, review what makes risotto creamy a step by step analysis.
The Golden Crust: Working with Puff Pastry
When it comes to puff pastry, success hinges on two things: butter and temperature. For the best results, choose an all-butter puff pastry—its flavor is richer and its lift more dramatic thanks to steam created as water in the butter evaporates (that’s what forms those flaky layers). While some argue that vegetable shortening versions are easier to handle, the trade-off in taste is noticeable. Think homemade croissant versus packaged roll—both function, but only one sings.
Most importantly, keep everything cold. If the pastry softens, the butter melts before it hits the oven, and you lose the lift. So, work quickly and chill often. A lightly floured surface prevents sticking without toughening the dough (too much flour can).
Next, roll the sheet into a rectangle large enough to wrap your filling evenly. This is where beef wellington techniques truly shine: center the chilled filling, brush edges with egg wash, seal firmly, and trim excess to avoid a soggy base. Then, chill again before baking to relax the gluten and firm the butter.
Finally, score lightly for steam release and visual appeal. Pro tip: if the pastry feels stretchy, pause and refrigerate—it’s patience, not force, that creates that golden, shattering crust.
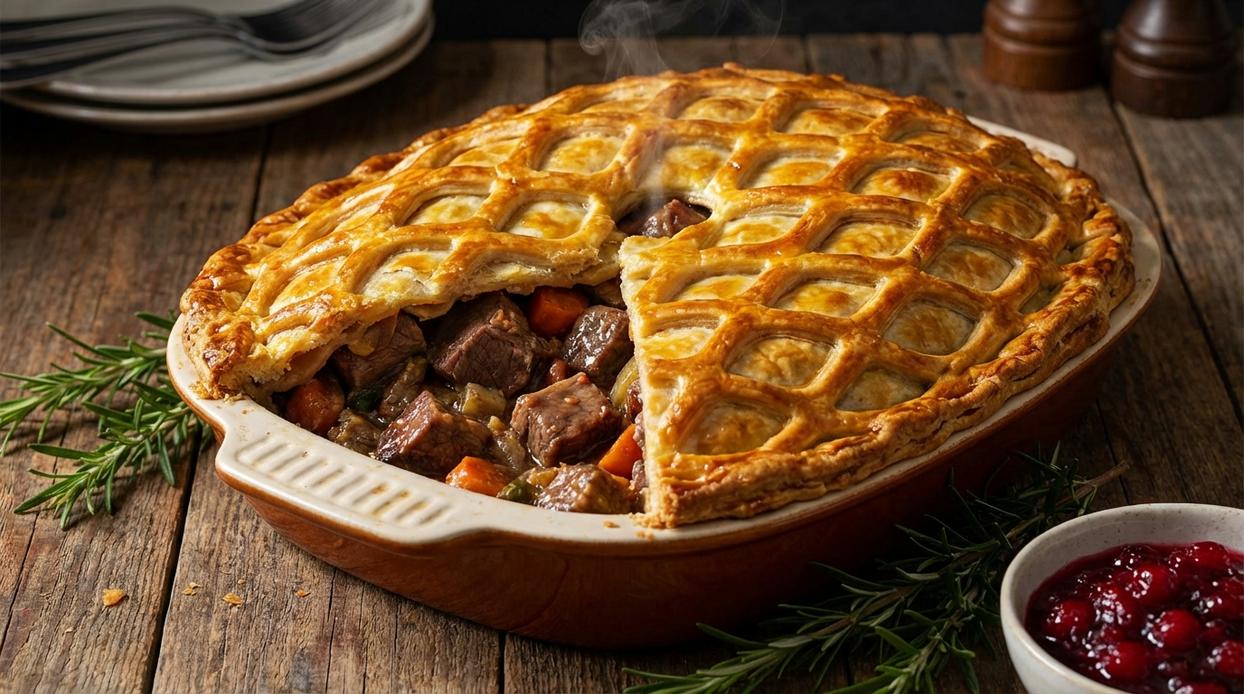
Bake in a preheated oven at 400°F (200°C) for 20-25 minutes, or until the pastry is golden brown and puffed., The only way to guarantee perfectly cooked beef is with an instant-read thermometer. For a perfect medium-rare, pull the Wellington from the oven when the internal temperature reaches 120-125°F (49-52°C)., Resting is not optional. Let the Wellington rest on the cutting board for at least 10-15 minutes before slicing. This allows the juices to redistribute throughout the meat, ensuring a moist and tender result. THESE precise temperatures deliver CONSISTENT results and protect flavor, texture, and presentation every time at home.
As we explore the art of deconstructing Beef Wellington, it’s essential to consider how techniques like proper freezing and reheating can preserve the dish’s rich flavors, which you can learn more about in our guide to maintaining meal taste during storage – for more details, check out our Freezing and Reheating Meals Without Losing Flavor.
Carving and Serving Your Culinary Triumph
You set out to master Beef Wellington without the stress of common pitfalls—and now you have. By executing a hard sear, preparing a dry duxelles, ensuring a tight wrap, and managing a temperature-controlled bake, you eliminated the risk of a soggy bottom or overcooked tenderloin. That confidence shows in every perfect slice.
Don’t let hesitation creep back into your kitchen. Keep refining these techniques, experiment with elegant sides, and turn this showstopping dish into your signature move. Ready to elevate your next dinner centerpiece? Put your skills to work tonight and serve Beef Wellington with total confidence.