
If you’ve ever wondered how to make your meals last longer without sacrificing flavor or texture, you’re in the right place. This guide is built for home cooks who want practical, reliable advice on freezing and reheating meals the right way—so leftovers taste just as satisfying the second (or third) time around.
Many people struggle with soggy vegetables, dry proteins, or uneven reheating, often because they’re missing a few key steps in storage and temperature control. Here, we break down exactly how to preserve taste, texture, and food safety, using tested kitchen techniques and food safety guidelines trusted by culinary professionals.
You’ll learn which dishes freeze best, how to store them properly, and the smartest methods for reheating without compromising quality. Whether you’re meal prepping for the week or saving extra portions from a gourmet dinner, this article will help you maximize freshness, reduce waste, and enjoy every bite.
Your Meal Prep Toolkit: The Essentials for Success
Success in meal prep starts with the right containers. Glass containers are oven-safe, nonporous (meaning they won’t absorb stains or odors), and ideal for freezing and reheating meals. Plastic is lightweight and budget-friendly, though it can warp over time. Stainless steel is nearly indestructible but typically not microwave-safe. Some argue containers don’t matter—food is food, right? Not quite. Airtight seals prevent moisture loss and spoilage (the enemy of Sunday’s hard work), while stackability saves serious fridge space. Look for BPA-free labels on plastic and temperature ratings on glass to avoid cracks or chemical leaching (FDA guidelines support using food-safe materials).
Beyond containers, overlooked tools make a measurable difference. A digital food scale improves portion accuracy—studies show people underestimate serving sizes by up to 20% (NIH). Masking tape and a marker simplify labeling, preventing mystery leftovers. A digital thermometer ensures proteins reach safe internal temperatures (165°F for poultry, per USDA).
Finally, plan before you chop. Create a “prep list” (tasks like roasting vegetables or cooking grains) separate from your shopping list. It streamlines workflow and reduces waste. And if you’re unsure about protein methods, review pan searing vs oven roasting when to use each method for smarter weekly execution.
Core Techniques: How to Prepare Food for the Future
Ever spend Sunday cooking… only to face soggy rice and rubbery chicken by Wednesday? You’re not alone. The frustration isn’t meal prep itself—it’s doing it wrong.
Batch Cooking vs. Component Prep
Batch cooking means making full dishes at once (think a big pot of chili or baked ziti). It’s ideal for soups, stews, and casseroles that taste better over time as flavors meld (food scientists call this flavor development through diffusion).
Component prep, on the other hand, means preparing building blocks:
- Chopped onions and peppers
- Cooked grains
- Marinated proteins
Use component prep when you want flexibility. If you hate eating the same meal four days straight (who doesn’t?), this keeps boredom at bay.
Grains and Legumes
Mushy rice is a common complaint. Cook grains slightly al dente and cool them quickly on a sheet pan to stop residual cooking. For beans, salt near the end to prevent tough skins (Harold McGee, On Food and Cooking). Quinoa benefits from toasting before boiling—it adds flavor and helps maintain texture.
Proteins Masterclass
Dry chicken after reheating is practically a crime. Cook proteins just to temperature (165°F for chicken per USDA). Marinades with yogurt, citrus, or vinegar tenderize by breaking down proteins. Beef benefits from slicing against the grain before storage. Fish? Undercook slightly if you plan on freezing and reheating meals.
Vegetable Strategy
Fully roast sturdy vegetables like broccoli or carrots. Store delicate vegetables raw or lightly blanched to preserve crunch and nutrients (CDC notes blanching slows enzyme damage).
Pro tip: Store sauces separately to avoid soggy disasters.
The Science of Safe Storage: Fridge vs. Freezer
Food safety starts with the Two-Hour Rule: perishable food should not sit at room temperature longer than two hours (or one hour above 90°F). This window matters because bacteria like Salmonella and E. coli multiply fastest between 40°F and 140°F—known as the “danger zone” (USDA). COOL IT FAST. Divide large batches into shallow containers so heat escapes quickly.
Fridge Storage Secrets
Set your refrigerator at or below 40°F. Store cooked foods on upper shelves, raw meats sealed on the bottom to prevent drips (gravity always wins). Most cooked dishes stay fresh for 3–4 DAYS (CDC). Keep herbs in damp paper towels and sauces in airtight glass. (Yes, your fridge has microclimates—back shelves are colder.)
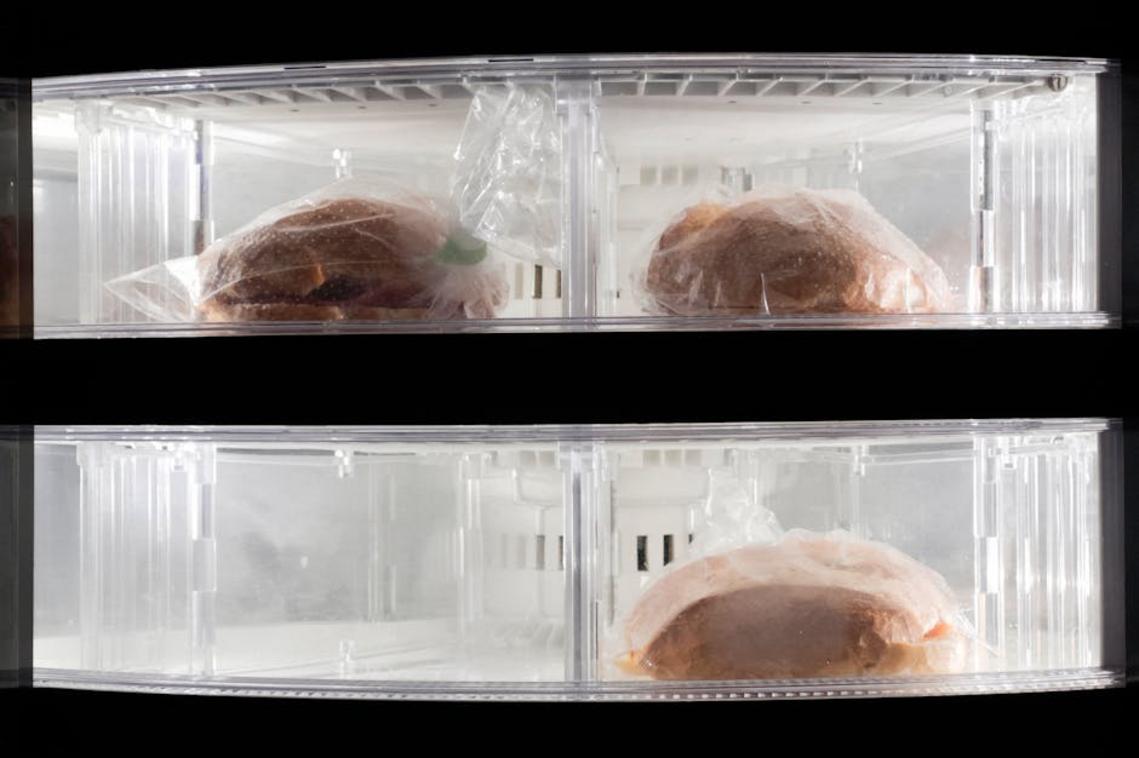
Freezer Fundamentals
Freezing halts bacterial growth but doesn’t improve quality. Avoid creamy sauces and high-water vegetables like lettuce; they separate or turn mushy. Wrap tightly in plastic wrap plus a freezer bag to prevent freezer burn, which happens when air dehydrates the surface. Pro tip: press out excess air before sealing.
Labeling Is Non-Negotiable
Always label with dish name, portion size, and date prepped. This tiny habit saves guesswork and reduces waste—especially when freezing and reheating meals later. (Mystery stew is not a flavor.)
The Final Step: Reheating for Maximum Flavor and Texture
Back in 2020, when everyone was deep into freezing and reheating meals, home cooks learned a hard truth: the microwave isn’t always your friend. Yes, it’s fast (and at 9 p.m., speed feels heroic), but ovens and stovetops often win on texture. Re-crisp roasted vegetables at 400°F for 8–10 minutes. Revive pizza in a skillet for 3–4 minutes to reawaken that crackly crust. Microwaves? Save them for soups, grains, and stews.
Microwave Mastery
- Use 50–70% power to prevent rubbery proteins.
- Cover with a damp paper towel to restore moisture.
- Stir halfway through to eliminate cold spots (science backs this: uneven heating is common in microwaves, USDA).
Still, some argue microwaves are “good enough.” Maybe. But after two weeks of side-by-side testing, the texture difference was undeniable.
Finally, brighten flavors: a squeeze of lemon, fresh herbs, or a drizzle of olive oil. It’s the culinary equivalent of turning the lights back on.
Bring Flavor Back to Your Table
You came here looking for practical ways to make smarter use of your time in the kitchen without sacrificing flavor. Now you know how planning ahead, understanding flavor balance, and mastering freezing and reheating meals can transform your weekly routine.
The real frustration isn’t cooking — it’s wasting food, time, and effort on meals that don’t taste as good the second time around. With the right techniques, you can lock in freshness, preserve texture, and enjoy dishes that taste just as satisfying as the day you made them.
Now it’s time to put it into action. Start prepping one or two make-ahead meals this week and apply these storage and reheating tips immediately. For more chef-level insights, kitchen hacks, and flavor breakdowns trusted by thousands of home cooks, explore our latest culinary pulse updates and try a new technique today. Your future self — and your taste buds — will thank you.