If you’re searching for a clear, reliable beef wellington guide, you’re likely looking for more than just a list of ingredients—you want step‑by‑step direction, expert tips, and the confidence to get it right the first time. Beef Wellington has a reputation for being intimidating, with its delicate balance of perfectly cooked beef, flavorful duxelles, and crisp, golden pastry. This article is designed to simplify that process.
Here, you’ll find a detailed breakdown of each component, practical timing advice, common mistakes to avoid, and flavor insights that elevate your final result. We’ve carefully analyzed traditional techniques alongside modern kitchen best practices to ensure accuracy and clarity. Whether you’re preparing it for a holiday dinner or a special occasion, this guide will help you execute every layer with precision—and serve a Beef Wellington that looks stunning and tastes exceptional.
The Foundation: Mastering Your Core Components
Great Beef Wellington isn’t about luck. It’s structural engineering in pastry form (yes, really). Every layer has a job to do—and if one fails, the whole thing collapses into a soggy mess.
Choosing the Right Cut
A center-cut beef fillet (filet mignon) is non-negotiable. The center cut means uniform thickness from end to end, which ensures even cooking. Tapered ends? They overcook before the middle hits medium-rare. Ask your butcher for a barrel-shaped piece and trim silver skin (the tough connective tissue) thoroughly.
Tie it with kitchen twine to maintain that cylindrical shape. Season generously—more than feels comfortable. A thick cut demands assertive seasoning (pro tip: salt it at least 40 minutes ahead for deeper penetration, according to America’s Test Kitchen).
The Perfect Sear
Use a screaming-hot, heavy-bottomed pan—cast iron is ideal for heat retention. Clarified butter (butterfat with milk solids removed) or grapeseed oil prevents burning at high temperatures. Your goal? A deep brown crust through the Maillard reaction—the chemical process that creates complex savory flavors (Harold McGee, On Food and Cooking).
You are not cooking it through. You are building flavor armor.
The Duxelles Deep Dive
Duxelles—a finely chopped mushroom mixture cooked with shallots and herbs—is your primary moisture defense. Pulse mushrooms until nearly paste-like. Cook slowly until every drop of water evaporates. Then cook it more.
You want a dry, crumbly paste. If it looks glossy or wet, it’s not ready. Most recipes rush this step. That’s why their pastry leaks.
The Prosciutto Blanket
Lay overlapping slices of high-quality prosciutto on plastic wrap, forming a seamless sheet. This creates a salt-forward, moisture-blocking barrier between beef and pastry. Think of it as edible insulation.
Some argue this step is optional. It’s not. Without it, steam migrates outward.
For more on texture control, see what makes a classic risotto creamy a detailed guide.
This beef wellington guide approach ensures precision most overlook.
Building a flawless Beef Wellington is less about luck and more about disciplined layering. Each step protects the next, like culinary armor.
The Secret Crêpe Layer
A thin, unsweetened crêpe wrapped around duxelles-coated beef acts as a moisture barrier. Duxelles (finely chopped mushrooms cooked down with shallots and herbs) releases steam as it bakes. Without a buffer, that moisture seeps into the pastry. The crêpe absorbs stray juices before they escape (think of it as an edible raincoat). Pro tip: cook it just set, not browned.
The First Chill
After wrapping the prosciutto-covered fillet tightly in plastic wrap, chill for at least 30 minutes. This firms the log and locks in a cylinder shape. Skipping this step leads to bulges and uneven pastry. In any reliable beef wellington guide, chilling is nonnegotiable.
Working with Puff Pastry
Use high-quality, all-butter puff pastry. Keep it cold; warm butter melts prematurely. Roll evenly to about 1/8-inch thickness. Avoid overworking the dough, which compresses layers and limits rise.
The Final Wrap
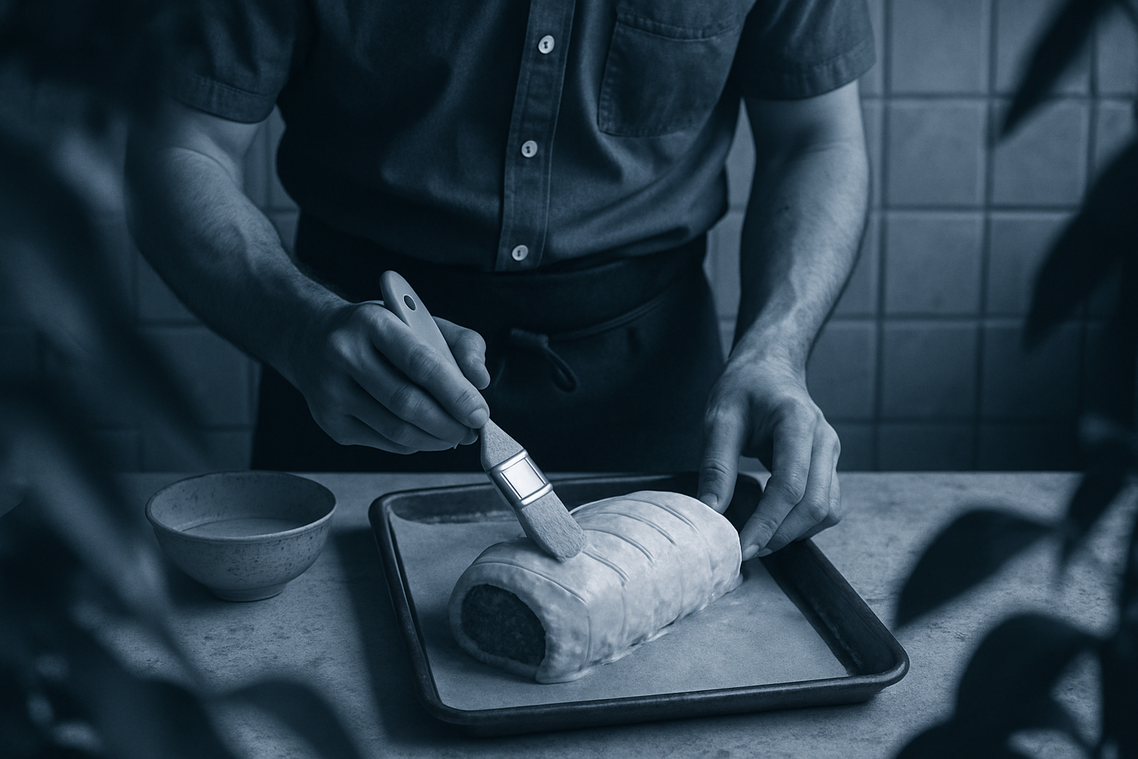
Place the chilled log seam-side down on the pastry. Brush edges with egg wash (a beaten egg used as edible glue). Roll tightly, trimming excess to prevent thick bottoms. Seal firmly and ensure:
- No air pockets
- Even thickness
- Secure seam
Air gaps expand in the oven and cause leaks (steam always finds a way). Tight, thoughtful assembly rewards you with crisp pastry and perfectly pink beef. Take your time; precision here determines whether dinner feels restaurant-worthy or rushed. Layer carefully, chill properly, and respect the dough. Patience pays off beautifully.
Baking to Perfection: Temperature, Timing, and Texture
“Why did my Wellington burst?” a friend once asked me, staring at a split crust like it had personally betrayed him.
Because it couldn’t breathe. Decorative scoring—shallow cuts on the pastry surface—lets steam escape while baking. Without it, pressure builds and cracks form (think volcano, but beef). Follow with a thorough egg wash for that glossy, golden finish, and don’t skip flaky sea salt. It’s not garnish—it’s contrast.
Then there’s the Two-Temp Method. Start hot—400°F (200°C) for 15–20 minutes—to trigger rapid steam expansion, which puffs the pastry (steam is your hidden sous-chef). Then reduce the heat to finish cooking the beef gently without scorching the crust.
“Can’t I just eyeball it?” someone always says.
Not if you care about doneness. A meat thermometer is non-negotiable:
- Rare: 120–125°F
- Medium-rare: 130–135°F
- Medium: 140–145°F
Finally, the critical rest—10 to 15 minutes. During baking, muscle fibers contract and push juices inward. Resting allows redistribution, preventing a dry steak and a soggy cutting board. Skip it, and you’ll watch your hard work pool out dramatically (very reality TV).
For step-by-step visuals, see the beef wellington guide and compare textures before slicing.
Troubleshooting Common Wellington Woes
The classic frustration? The soggy bottom—when steam turns crisp pastry into damp disappointment. Fix it with ultra-dry duxelles (a finely chopped mushroom mixture cooked until moisture evaporates), a thin crêpe barrier, and baking on a preheated tray or pizza stone. Overcooked beef is next. Use an instant-read thermometer and pull it 5–7 degrees early for carryover cooking. Pale, undercooked pastry? Apply a thorough egg wash and confirm a fully preheated oven.
Pro tip: Rest before slicing to keep juices in place. What’s next? Review a beef wellington guide and practice timing components together for flawless results.
Mastering Your Next Show-Stopping Meal
You came here wanting a clear, confident path to mastering this iconic dish—and now you have it. From choosing the perfect cut to nailing that golden, flaky crust, you understand the steps that turn a stressful recipe into a stunning success.
Beef Wellington has a reputation for being intimidating. Soggy bottoms, overcooked centers, or bland layers can make anyone hesitant to try. But with the right timing, technique, and flavor balance, those common pitfalls are completely avoidable.
This beef wellington guide gives you the structure and insight you need to cook with confidence, not guesswork. When you follow each step with intention, you’re not just making dinner—you’re creating a centerpiece worthy of applause.
Now it’s your move. Head to your kitchen, source quality ingredients, and put these techniques into action. If you want more chef-level breakdowns, foolproof methods, and flavor-packed kitchen hacks trusted by thousands of home cooks, explore our latest guides and start cooking smarter today.