You tried making Hingagyi once. It smelled wrong. Or never fermented at all.
Or turned slimy overnight.
I know because I’ve watched it happen. Over and over.
Hingagyi isn’t miso. It’s not doenjang. It’s its own thing.
A traditional Burmese fermented soybean paste with specific temperature needs, timing windows, and humidity tolerance.
Most guides ignore that. They treat it like a recipe. It’s not.
It’s a living process.
I’ve made it every season for years. In monsoon heat. In dry winter air.
Using the same clay pots and bamboo mats village cooks use. Not lab-grade gear.
And I’ve fixed every failure you’re probably staring at right now.
This isn’t theory. This is How to Make Hingagyi Step by Step (with) exact temps, real-time visual cues, tool swaps for home kitchens, and what to do when mold shows up (yes, some kinds are fine).
No guessing. No “just wait and see.” Just clear steps that work.
You’ll know when it’s ready (not) by the clock, but by how it smells, feels, and breaks apart.
Let’s get it right this time.
Real Ingredients. Real Tools. No Substitutes.
I make Hingagyi the same way my grandmother did. No shortcuts, no swaps.
Hingagyi starts with non-GMO yellow soybeans. Not black. Not split.
Not roasted. Just whole, dry, pale yellow beans. They ferment right.
Anything else throws off the microbes.
Coarse sea salt. Not iodized. Is non-negotiable.
Iodine kills starter cultures. Test yours: dissolve a teaspoon in warm water. If you see white specks or cloudiness?
Toss it. That’s anti-caking junk.
Roasted rice powder is optional. But it helps. It feeds the good bacteria early.
Skip it if you must. Don’t replace it with flour or cornstarch. They don’t behave the same.
Bamboo steamer. Not metal. Bamboo breathes.
Metal traps steam and drowns the beans.
Unglazed clay pot or food-grade ceramic crock only. Plastic? Sealed jars?
No. Fermentation needs airflow (and) weight. A clean cotton cloth + smooth stone does the job.
Pressure cookers ruin texture. Vinegar adds fake acidity. Soy sauce isn’t brine.
It’s dead culture soup.
Soaked beans should look plump and evenly wrinkled. Cracked? Mushy?
You waited too long.
How to Make Hingagyi Step by Step matters because one wrong ingredient changes everything.
I’ve thrown out three batches over bad salt.
Don’t be me.
Steaming, Inoculating, and Forming the Starter Cake
I steam the beans for 90 minutes. Over boiling water, not simmering. (Yes, you need to watch the pot.
I’ve let it drop to a simmer twice. Both times, the koji stalled.)
Stir halfway through. Then cool to 35°C (38°C) before touching them. Not 40.
Not 33. Use a food thermometer. Guessing ruins everything.
Natural inoculation works. If your space is clean and stable. I spread the hot beans on banana leaves or bamboo trays.
No starter culture needed. Ambient koji spores do the work. But only if humidity stays between 75% and 85%, and air moves gently.
You’ll know it’s working when white fuzz appears in 24 hours. That’s good koji. Green or black spots?
Discard. Slimy beans? You waited too long or crammed them too tight.
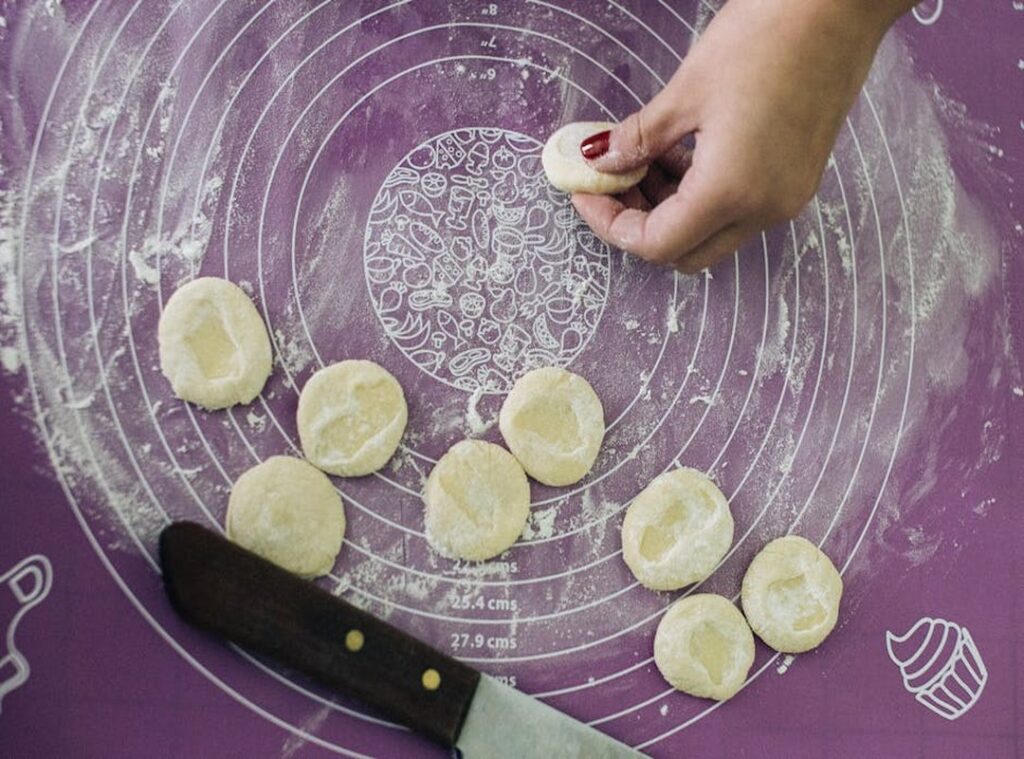
Then I press the cooled beans into 5 cm slabs. Score them into 3 cm squares. Flat side down on ventilated racks.
Leave 2 cm between each cake. Crowding invites mold.
Room temp must stay 28°C (32°C.) Darkness helps. I tape a cheap hygrometer + thermometer to the wall. It’s not fancy (but) it’s accurate enough.
How to Make Hingagyi Step by Step starts here. Not with recipes. With control.
If airflow drops, I prop open a window and add a small fan on low (pointed) at the wall, not the cakes.
You think humidity is hard to hold? Try keeping it just right while the beans breathe.
That white fuzz isn’t magic. It’s biology. And it’s picky.
Brining, Weighting, and Fermentation. No Guesswork
I make hingagyi twice a month. Not because I love it that much (though I do). Because getting the brine wrong ruins everything.
Use 18% salt solution by weight. That’s 180 g fine sea salt per liter of filtered water. Boil it.
I go into much more detail on this in How many minutes to cook hingagyi.
Cool it completely. Never use tap water. Chlorine kills koji.
I learned that the hard way. (Yes, I tried it once. The batch smelled like regret.)
Layer starter cakes and brine in 3 cm alternating layers. Top with at least 5 cm of brine. Then weight it down.
A glass jar filled with water works. So does a clean river stone (washed and boiled first).
Days 1 (7:) stir gently every 48 hours. Enzymes are breaking things down. Don’t skip this.
Uneven fermentation starts here.
Days 8. 21: pH drops. Aim for 4.8 (5.2.) Test with strips. If it’s still above 5.5 at Day 21?
Wait. Don’t rush it.
Days 22. 60: flavor deepens. Taste weekly starting Day 30. It should smell nutty-savory.
Not sour, not ammoniac. Texture? Soft but intact.
Red flags: gas bubbles, fuzzy mold film, or sharp vinegar smell. Toss it.
Hot climate? Drop salt to 15%. Cold room under 26°C?
Add two days to the koji phase before brining.
You’ll find yourself asking How to Make Hingagyi Step by Step halfway through (especially) when timing gets slippery.
Which is why I always check How many minutes to cook hingagyi before the final simmer. Timing matters there too.
Salt isn’t optional. Weighting isn’t optional. Patience?
Also not optional.
Fermentation doesn’t care about your schedule.
Straining, Storing, and Using Your Finished Hingagyi
I strain mine through a clean cotton cloth (not) cheesecloth, not paper towels. Into a bowl. Gently squeeze.
No twisting. Twisting breaks down texture and pulls out bitterness.
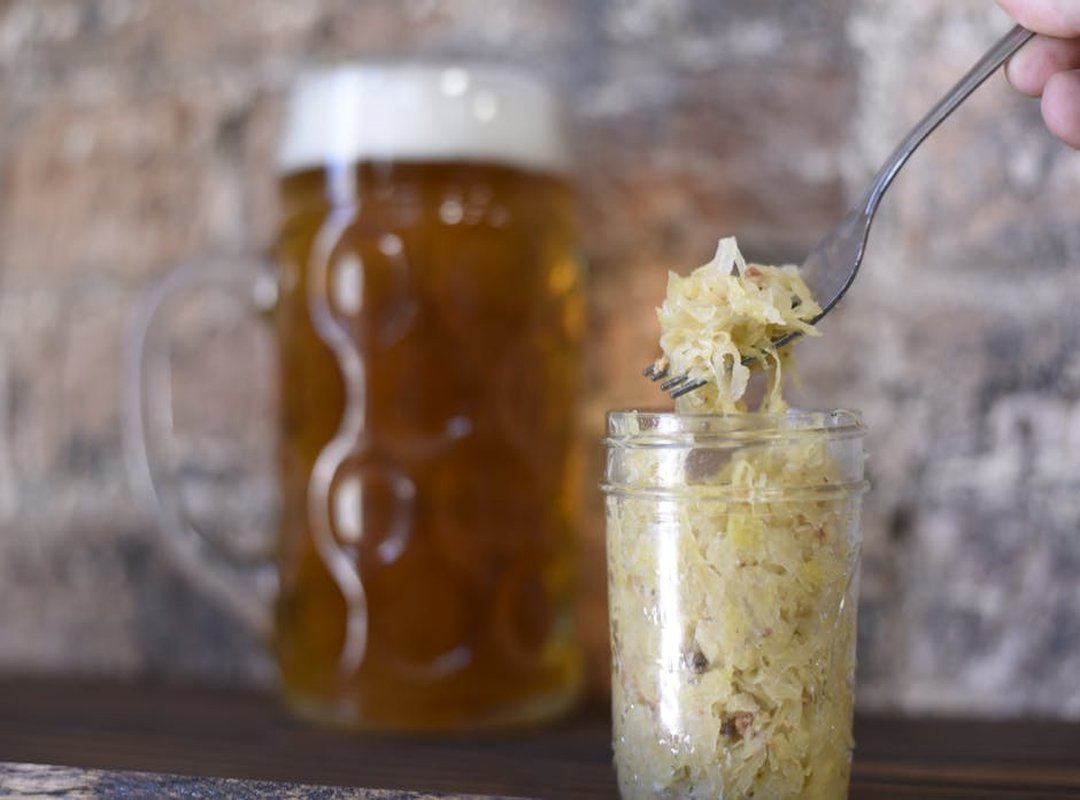
That liquid? That’s your Hingagyi broth. Save it.
Use it in soups or steamed rice. Don’t toss it. (Seriously, I’ve seen people pour it down the drain.
Stop.)
Sterilize jars. Fill them with paste. Top with 1 cm of brine.
Seal loosely for three days (let) gases escape. Then seal tight. Refrigerate.
It lasts 12 months. Skip refrigeration? Add a thin oil layer.
Shelf life drops to 6 months. Still good. Just less stable.
Use 1 tbsp Hingagyi for every 2 tsp fish sauce (or) 1 tsp soy sauce (in) curries, soups, dips. Try this: mix 1 tbsp Hingagyi, 1 tsp tamarind paste, lime juice, and sliced bird’s eye chili. Done.
Dip anything in it.
Never boil it. Never. Heat kills the live cultures and flattens the umami.
Add it at the final simmer.
It gets deeper. Richer. More savory over 3 (6) months.
Label every jar with date and notes. You’ll thank yourself later.
This is how to Make Hingagyi Step by Step (no) shortcuts, no guessing.
If you want the full origin story and cultural context behind this ferment, read the Allkyhoops Hingagyi Treasured Burmese Delicacy.
Your First Hingagyi Jar Starts Now
I’ve been there. Staring at dry soybeans, wondering if I’ll kill the koji or rot the batch before it even begins.
Uncertainty kills more ferments than bad technique.
You now know the four non-negotiables: prep the beans right, grow koji with control, hit the brine ratio exactly, and wait. really wait (for) aging.
No shortcuts. No guesswork. Just clear steps.
How to Make Hingagyi Step by Step isn’t theory. It’s your roadmap.
Pick one day this week. Set a phone reminder: Day 0: Soak Soybeans.
That single action breaks the paralysis.
Your first jar won’t be perfect (but) it will be real, alive, and unmistakably yours.